

Now that we have configured the connection between EMS and Jamf Pro we need to make sure that the macOS devices can also be registered to Azure AD. To be able to complete the scenario we need to do the following;
- configure compliance policies
- deploy the company portal app with Jamf Pro
- create a Jamf policy that users need to register their device with Azure AD.
Configure Compliance Policies
Configuring compliance policies need to be done in Microsoft Intune, for macOS devices you are able to check compliance for the following options;
- Check if system integrity protection is enabled on the device.
- Minimum and maximum OS version
- check if a password is required to unlock the device
- check if complexity of the password is configured.
- check if encryption is enabled.
In this blog I will require encryption to be enabled and require that the minimum macOS version is 12. (a non-existing value)
Deploy the company portal app via Jamf Pro
The Intune Company Portal is not available in the App Store of Apple, so we need to download it from Microsoft and create a policy to deploy it to the macOS devices.
- First download the latest version of the Intune Company Portal for macOS.
- In the Jamf Pro admin console, go to Management Settings, Computer Management and click Packages.
- Click New, click Choose File and browse to the file called CompanyPortal-Installer.pkg.

- Click Save and wait until the file is uploaded.
- Click Computers and Policies.
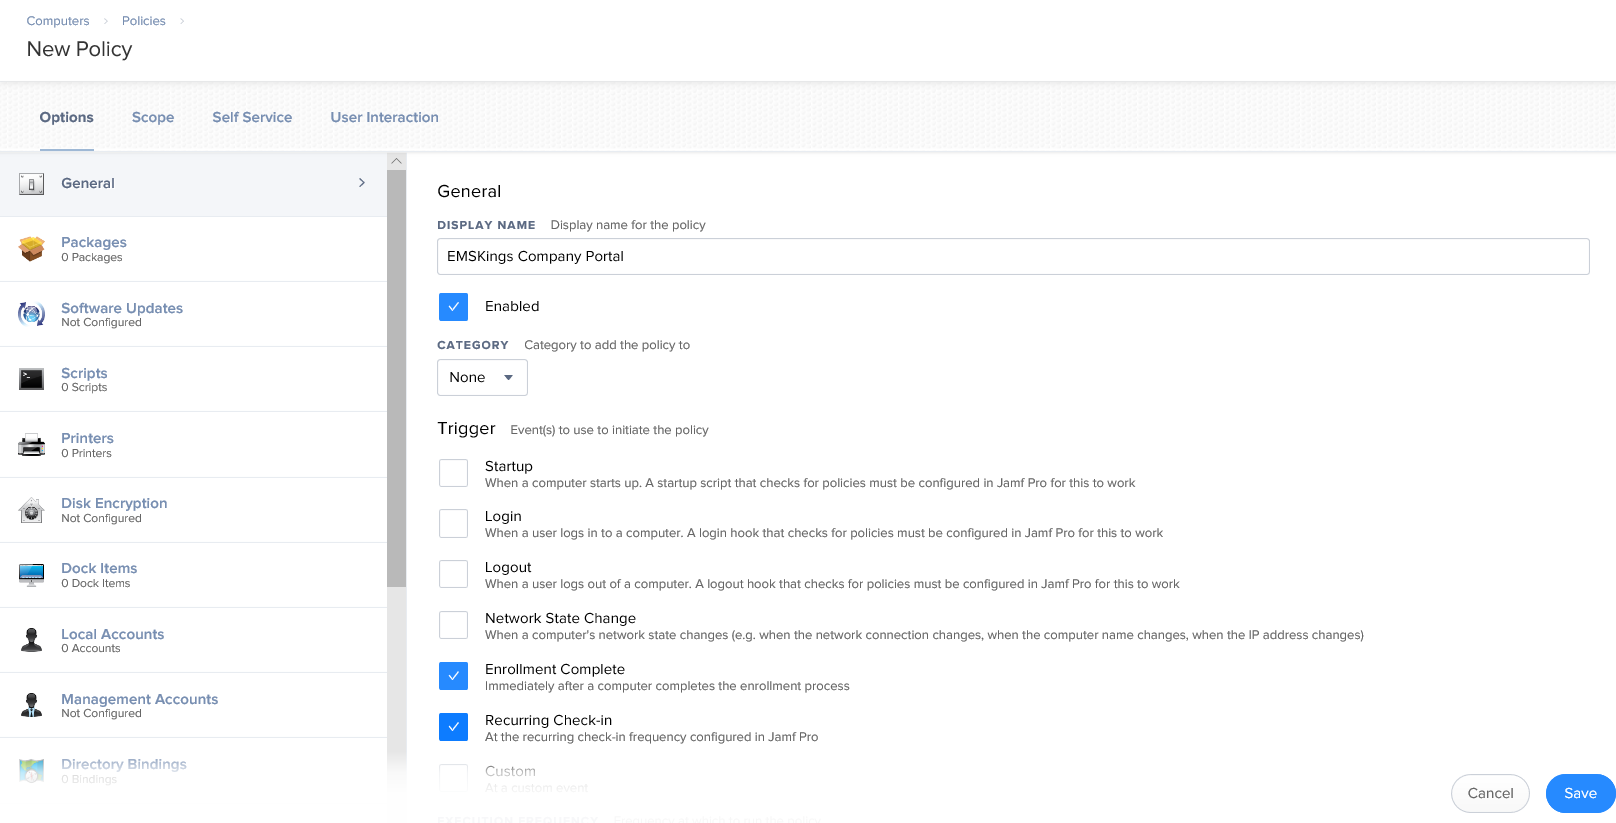
- Click New, and supply a display name
- Enable the options Enrollment Complete and Recurring Check-in.

- Click Packages and Configure.
- Click Add next CompanyPortal-Installer.pkg.
- Leave the action to Install and set the correct scope (eg All Computers and/or All Users).
- Click Save.
Create Jamf policies to register the device in Azure AD
The last part of the configuration is creating a policy that forces the users to register their device with Azure AD.
- Still in the Jamf Pro admin console, go to Computers, Policies and click New.
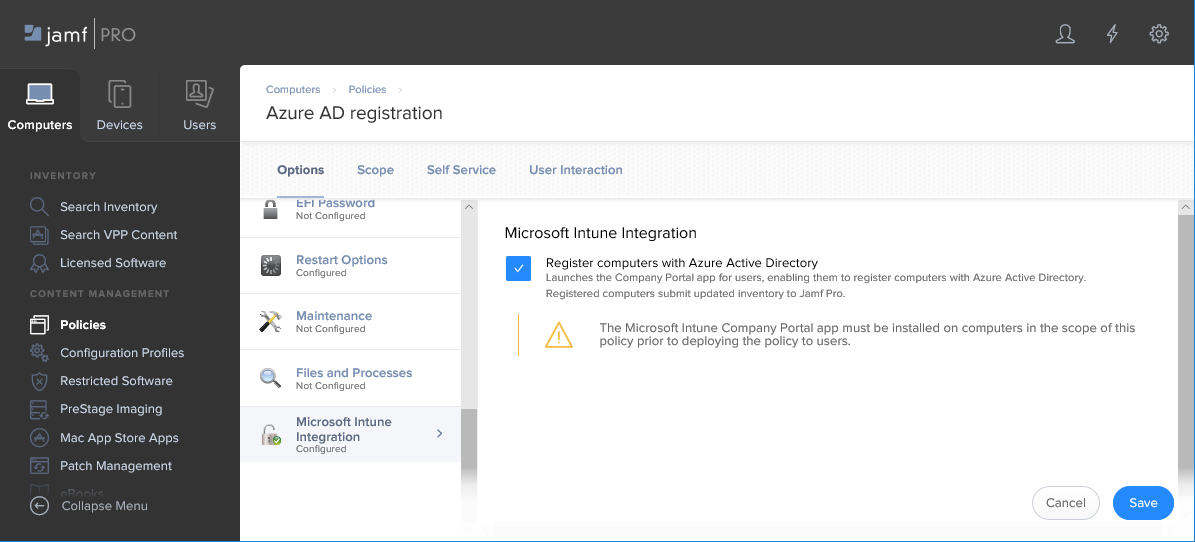
- Supply a Name and click on the Microsoft Intune Integration payload.
- Click Configure
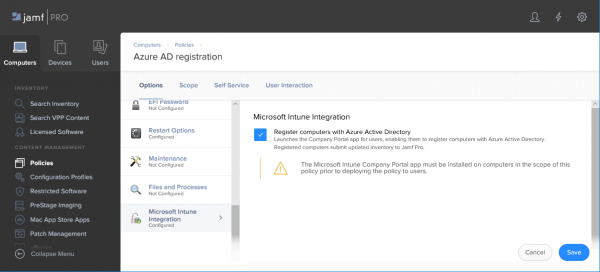
- Enable the checkbox Register computers with Azure Active Directory and click Scope to scope the deployment of the policy.
- Click Self Service and enable Make the policy available in Self Service.
- Click Save.
Admin experience
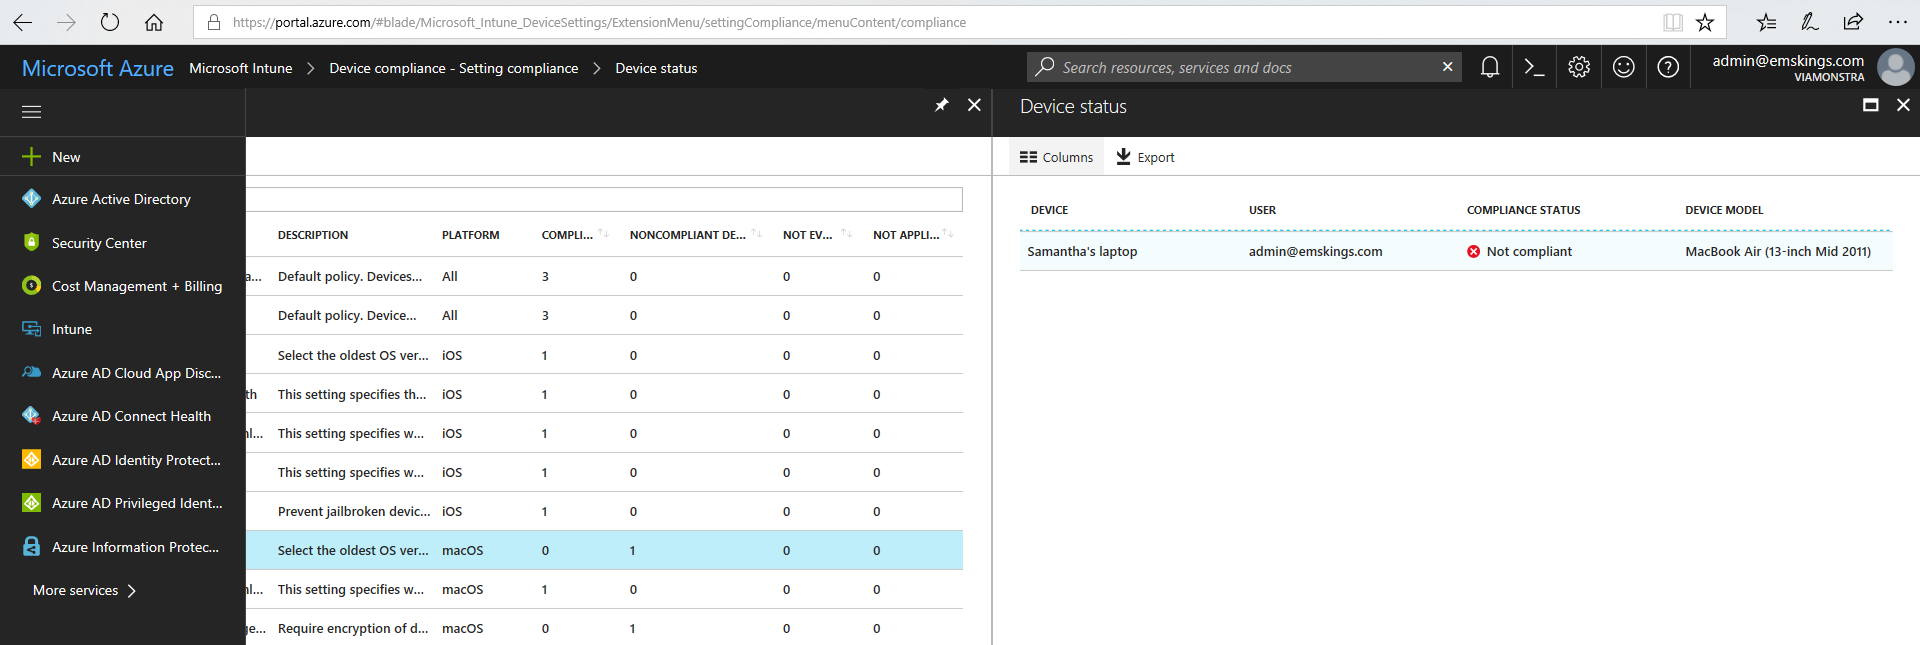
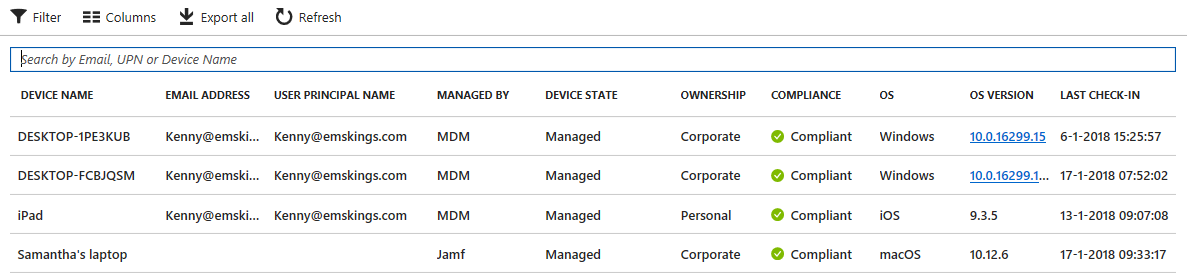
In Microsoft Intune you will see the macOS device appearing and you will see that it is managed by Jamf. And in this case it is not compliant.

View more information about why the device is not compliant in the Microsoft Intune console.
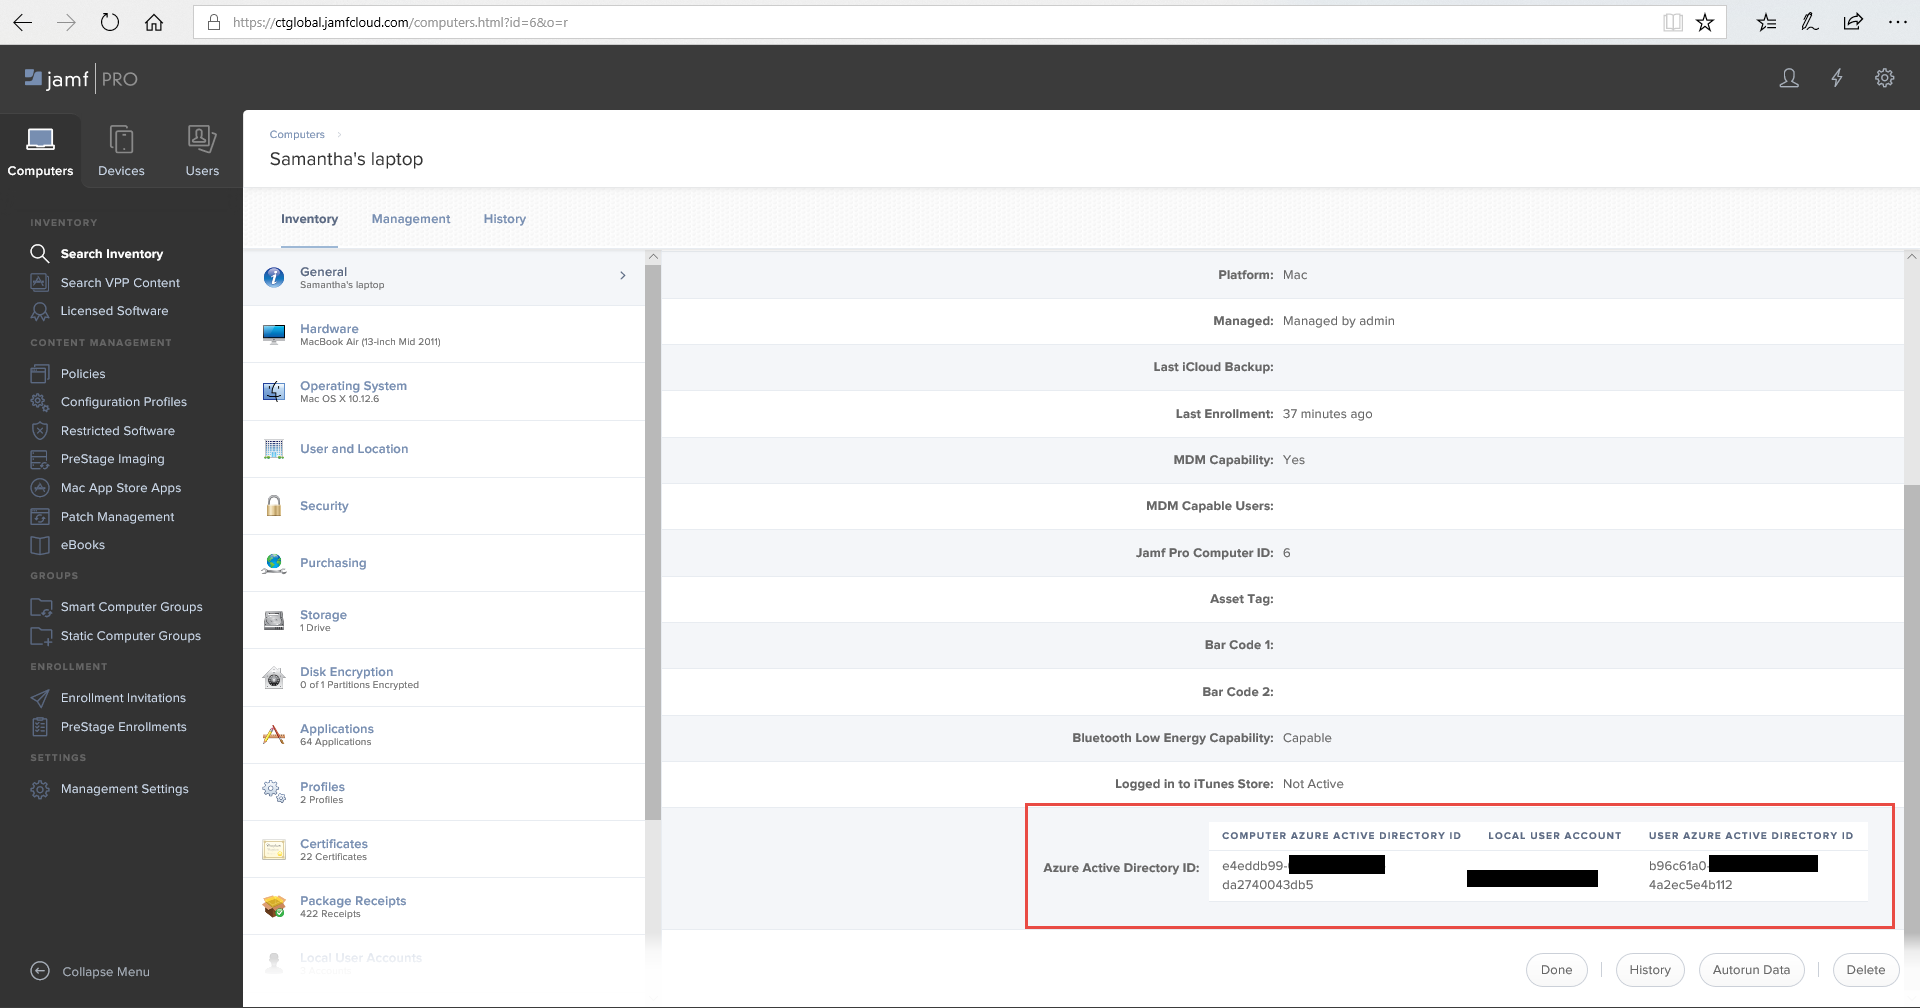
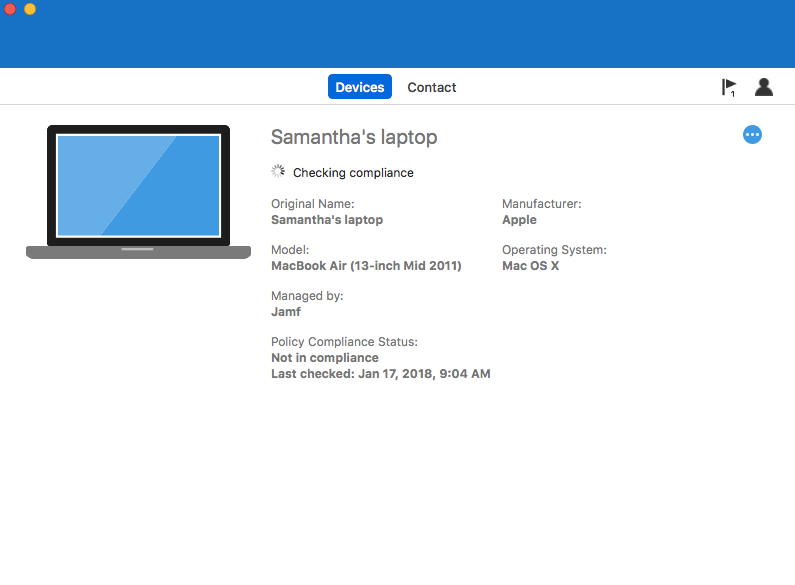
In the Jamf Pro console you see the device with the Azure AD information.
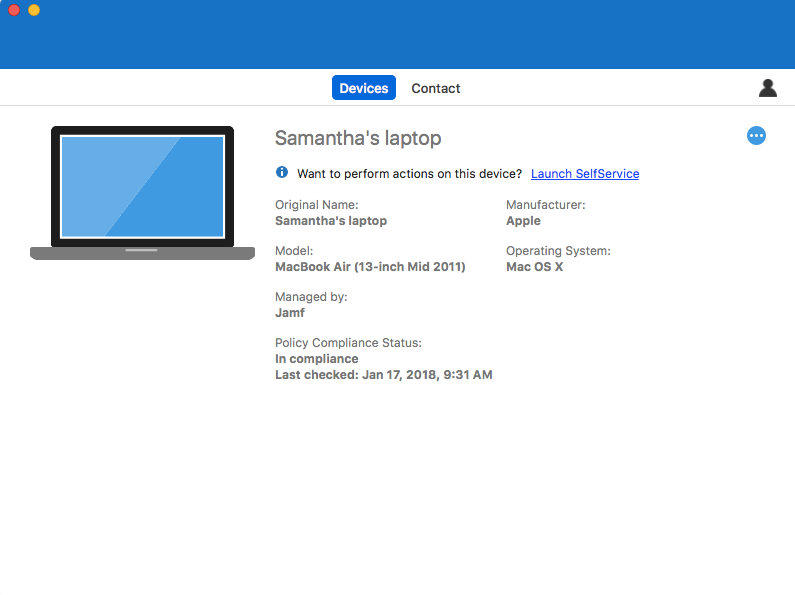
After the device is remediated, it will be reported as compliant.
End user experience
The end user needs to go through some manual steps to register the Jamf managed device with Azure AD, so that the inventory can be shared with Microsoft Intune.
Registering the device
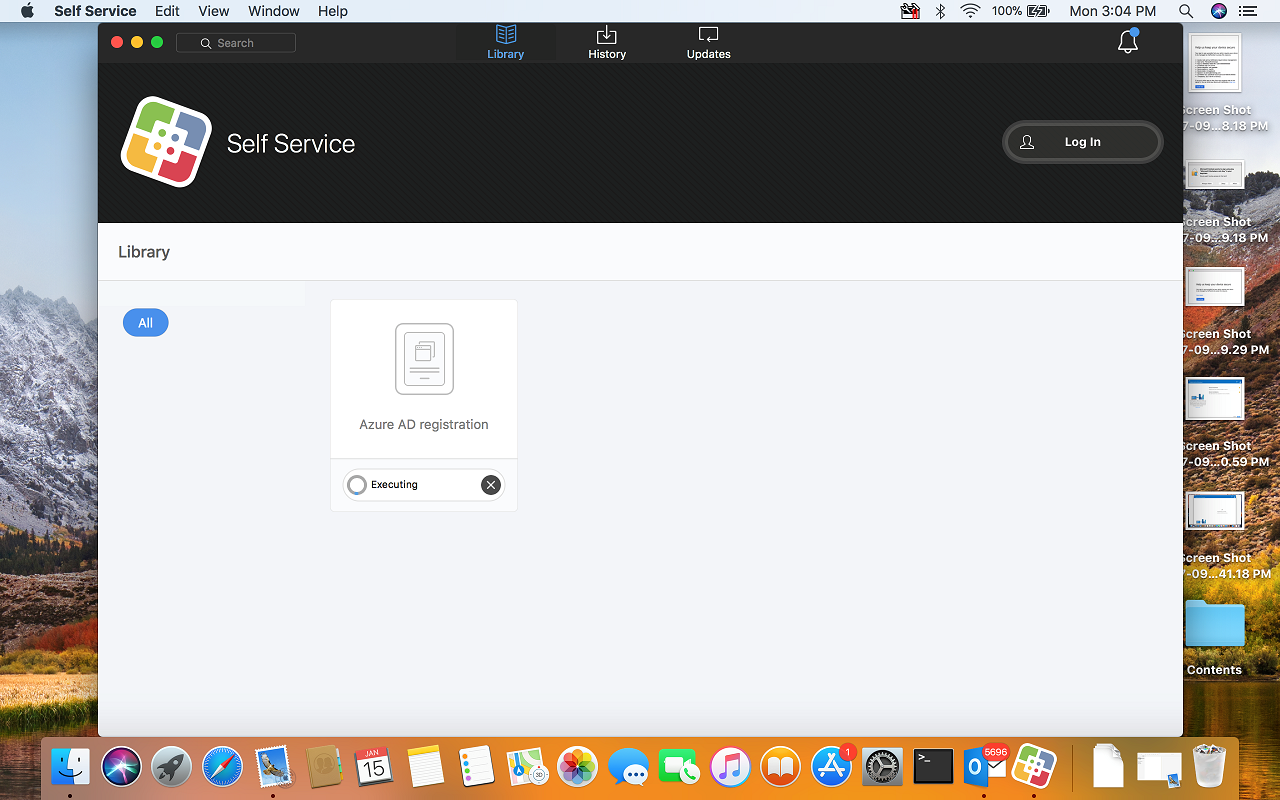
In the Self Service app from Jamf the user needs to start the Azure AD registration application to start the registration in Azure AD. The Intune Company Portal is automatically installed.
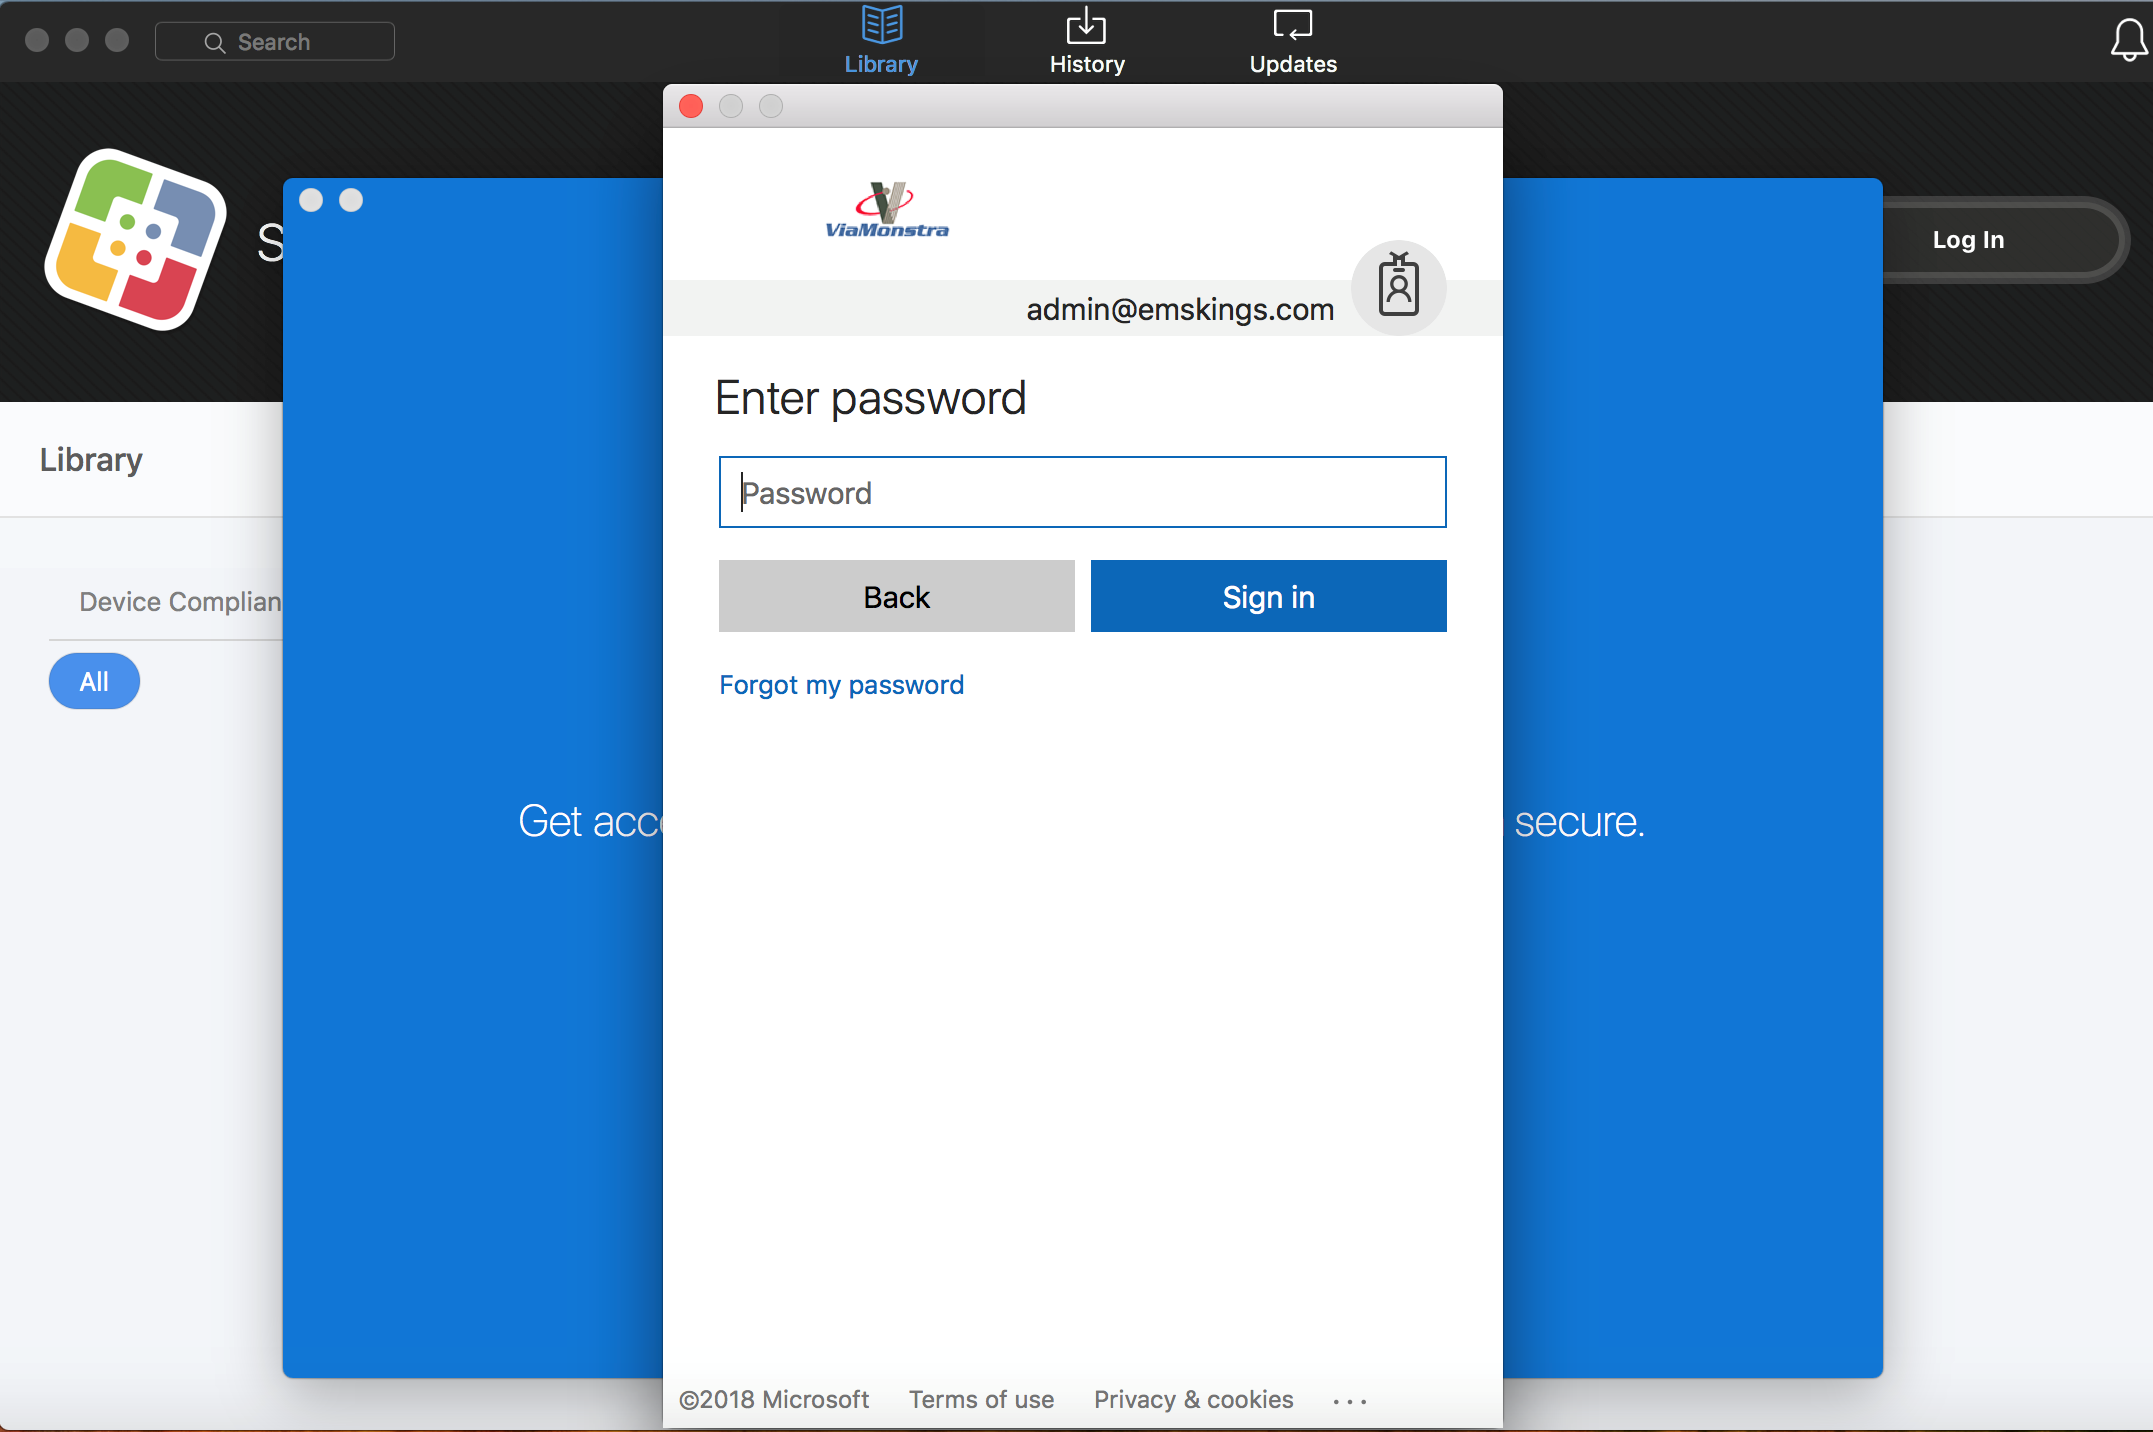
After starting the registration app, the Company Portal will automatically be started. Login with the user account you want to use to register the device.
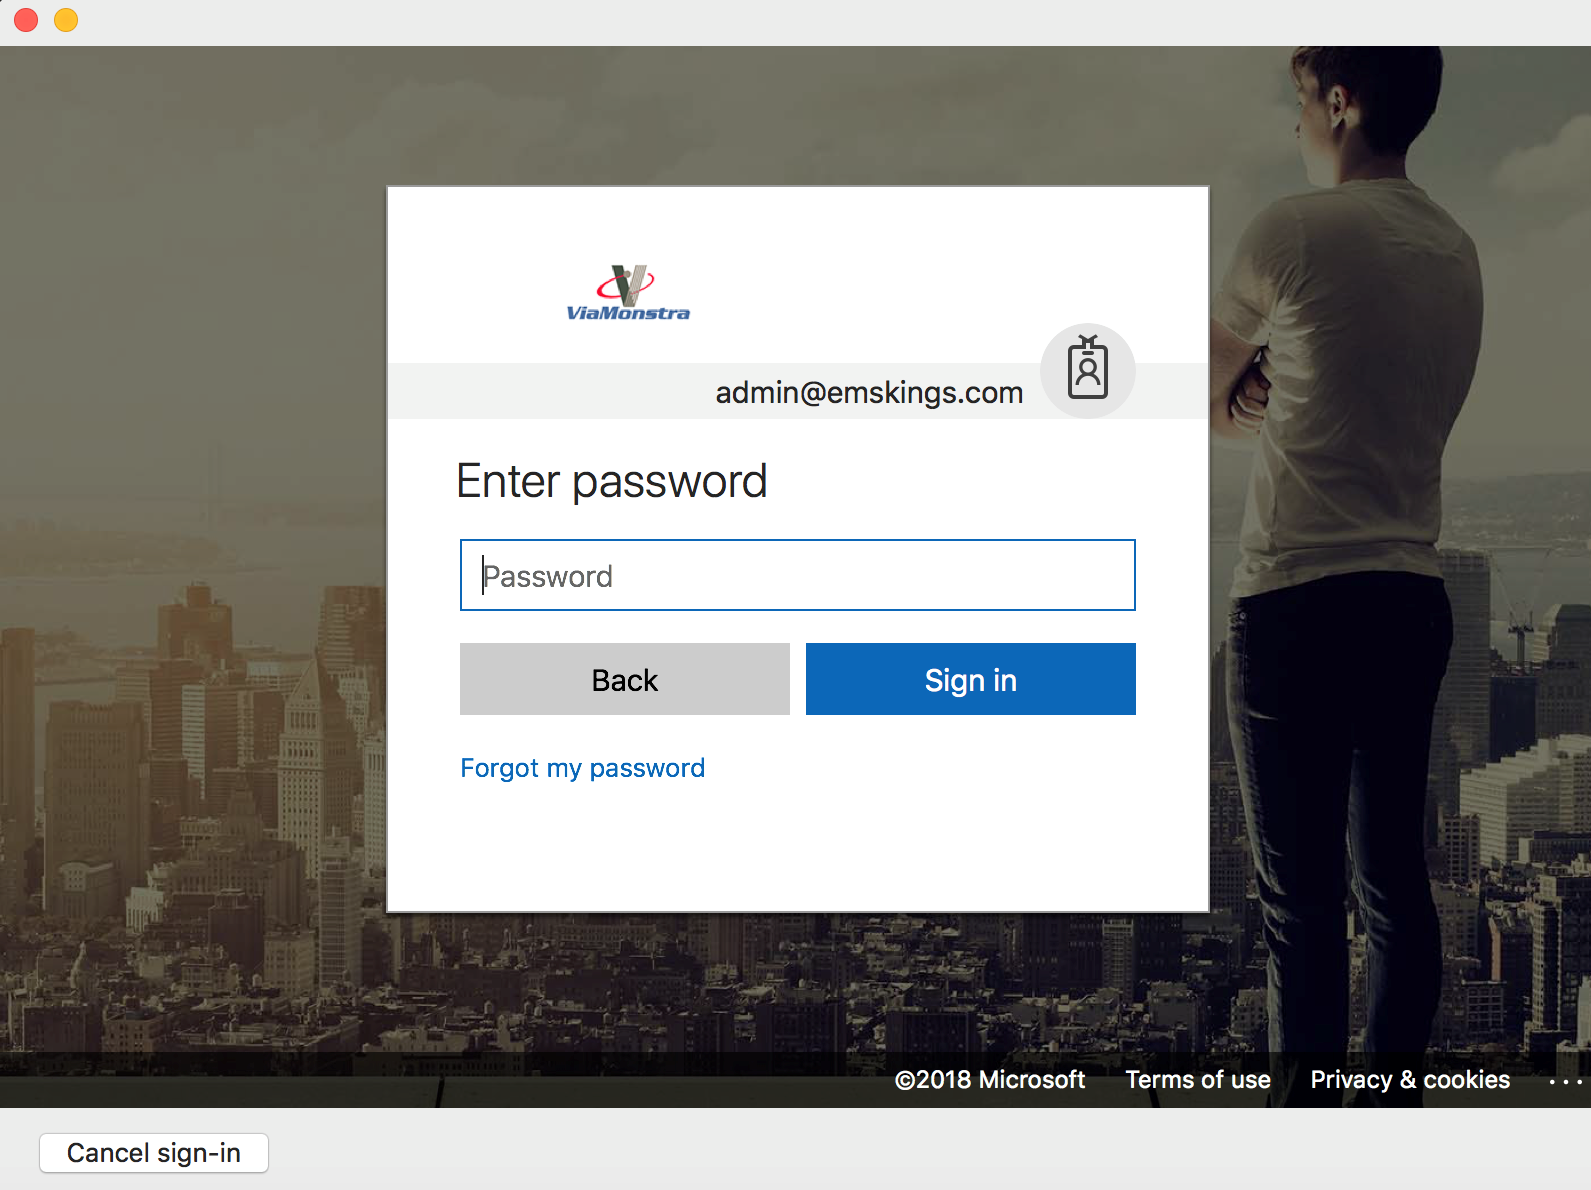
Authenticate for the second time.
After the registration is done you will receive the message that the company access setup is completed.

Remediation of compliance issues
If a device is not compliant as shown below you can fix it via the Company Portal.

Click Fix It to see why the device is not compliant
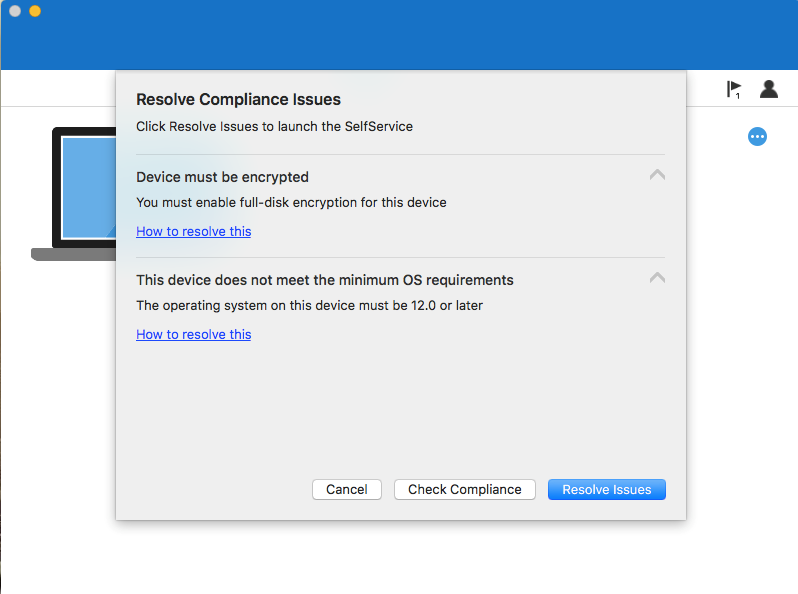
Fix the issues and check the compliance state of the device again via Check Compliance.
After the fixing the issues the device is marked as compliant again.
Notes
While testing the solution the following notes were taken.
- After enrolling the device in Jamf Pro, be sure that the inventory has ran before starting the registration via the Company Portal.
- Don’t start the company portal manually for the registration, the company portal must automatically be started via the AD registration policy.
- Initiate a Policy scan on a macOS device via “sudo jamf policy”
- Initiate an Inventory scan on a macOS device via “sudo jamf recon” (by default inventory runs weekly)
- Only inventory from Jamf Pro is shared with Microsoft Intune
- Only the object ID’s of the user and device in Azure AD are shared from Azure AD with the Jamf Pro cloud
- Running the Test in Jamf Pro to test the connection is a good way to initiate a sync between the two cloud services.
Resources
Conclusion
Looking at this integration I think it is a great addition when you already manage your devices with Jamf Pro and you want to control access to Office 365 and/or Azure services via Conditional Access.
Read also
- Jamf Pro and Microsoft EMS better together – part 1
- Jamf Pro and Microsoft EMS better together – configuration – part 2
- Jamf Pro and Microsoft EMS better together – macOS devices – part 3 (this blog)