 So now we have looked at the features and Client in the first blog, looked at the deploying software in the second blog, looked at the Mac OS X Configuration Profiles in the third blog and looked at the “other” configuration items in the fourth blog we are now going to look at deploying an Mac OS X Operating System via Configuration Manager 2012 R2.
To be able to support Operating System Deployment for Mac OS X devices we need to set up the Netboot integration with our PXE Enabled Distribution Point.
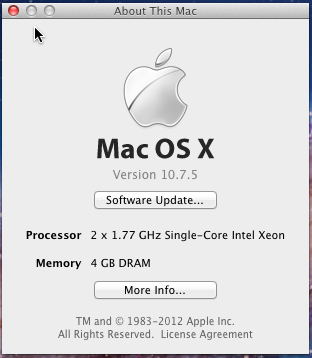
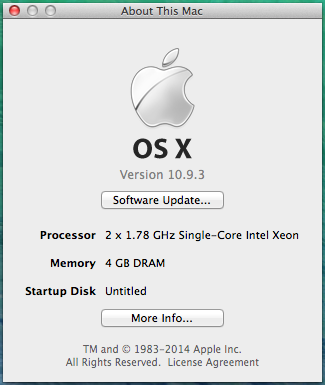
See how you are able to upgrade Mac OS X 10.7.5 to Mac OS X 10.9.3 using Configuration Manager 2012 R2.
Setting up the Netboot integration is done while installing the plugin. No real configuration needs to be done to get it working.
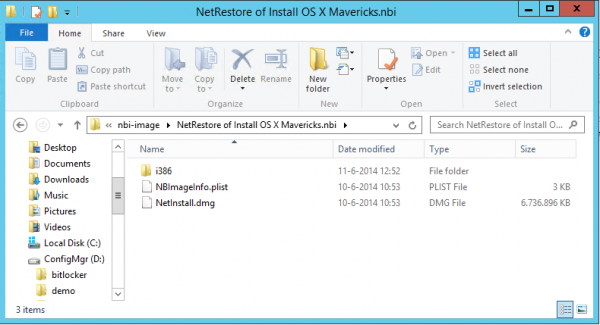
After everything is set up correctly, you need to add a Mac OS X image to Configuration Manager 2012 R2, this is done by creating the NetBoot image folder whose name ends with .nbi.
In this folder the following files are stored:
| Filename | Description |
| NBImageInfo.plist | Property list file with the support hardware models |
| NetInstall.dmg | The actual NetInstall image |
| \i386\Booter | Startup file that the firmware uses to begin the startup process |
| \i386\com.apple.Boot.plist | Property list file for boot options |
| \i386\PlatformSupport.plist | Property list file for supported processors / configurations |
| \i386\x86_64\kernelcache | This file contains all kernel extensions that may be needed to boot a Mac. |
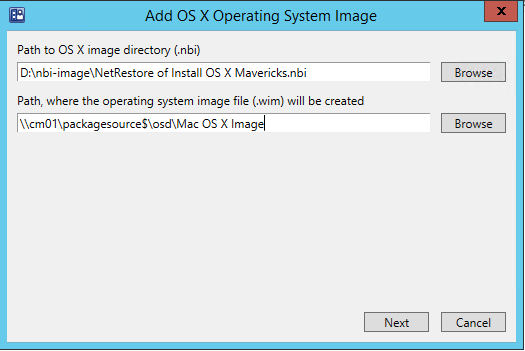
The next step is to add the image to Configuration Manager. This can be done via the console when selecting Add Mac OS X Operating System Image in the Operating System Images node in the Software Library workspace. You need to supply the .NBI folder and the package source UNC path where you store the package sources of your packages and images.
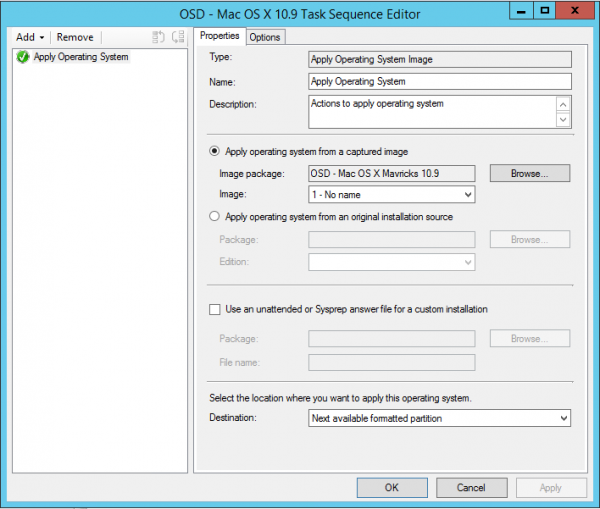
After the Mac OS X operating system image has been added to Configuration Manager, we need to create a task sequence and deploy this one to the collection where the Macs that you want to reimage reside. The Task Sequence can be created by selecting Create Task Sequence for Macs in the Task Sequences node of the Configuration Manager Console.
After deploying it you should be able to see the availability of the image from the Mac client. If you go to the System Preferences > Startup Disk you will notice that the local (untitled Mac OS X, 10.7.5) disk and the OSD – Mac OS X 10.9 Network disks are listed. We should be able to select the Startup Disk now but let’s try to reboot and boot via Netboot so we are able to see how this goes.
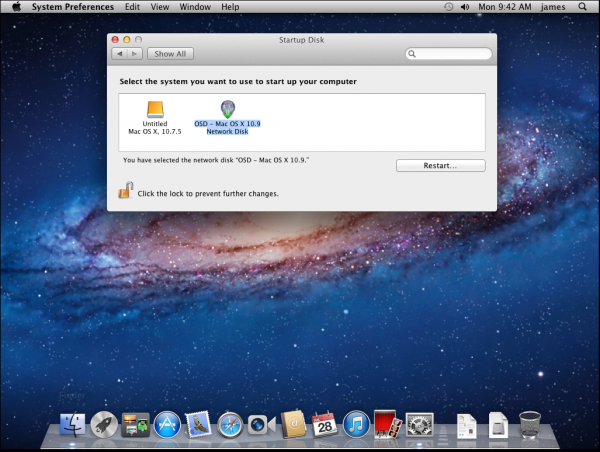
If we exit the preferences and reboot the Mac client via Netboot by pressing N while booting the Mac, the Mac will boot into the OS X Installer

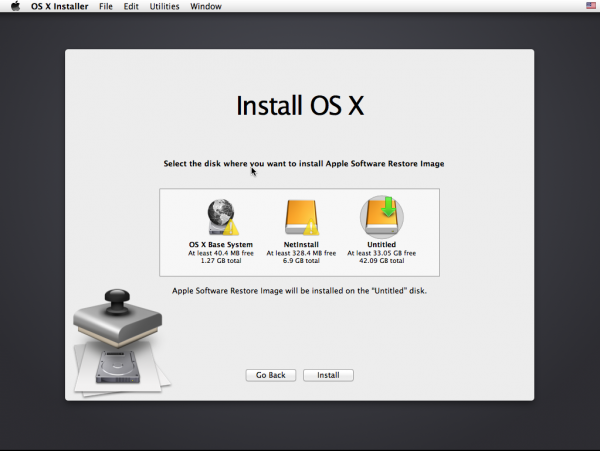
In the OS X Installer you are able to select the target disk (in my case the Untitled disk) and click Install. After selecting Install, the installation of the image provided by Configuration Manager 2012 R2 will be installed.
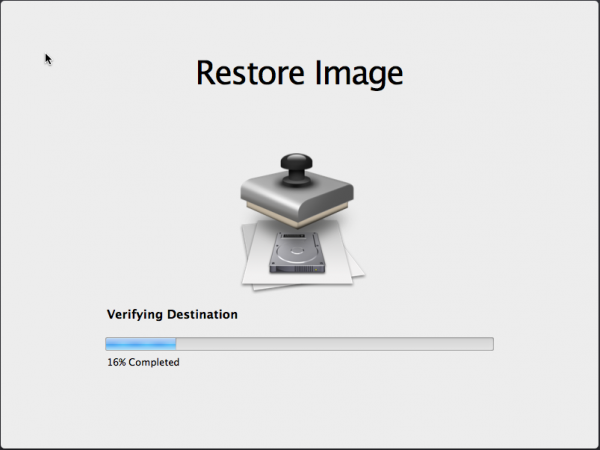
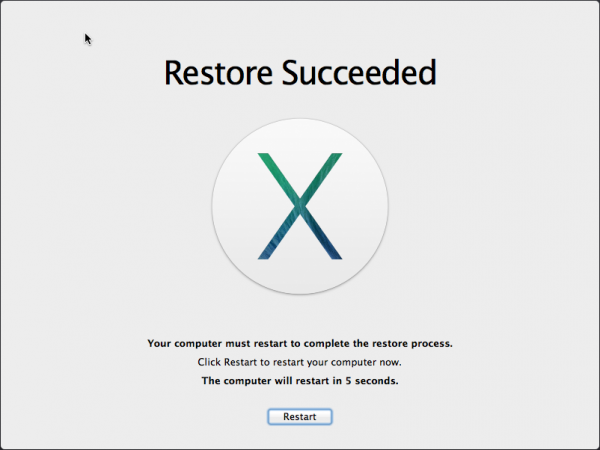
After the installation is finished you need to go through the Welcome wizard and setup your Mac for your needs and deploy the Parallels Client via the discovery method.
In this blog you quickly saw how to upgrade Mac OS X 10.7.5 to Mac OS X 10.9.3 using Configuration Manager 2012 R2. How cool is that? 😉 Okay the very rich OSD experience we have with deploying Windows Operating Systems is not the same but this can be considered as a good start if you ask me.
In the next, and for now last blog, I will have a look at the new features that have become available with the release of Parallels Mac Management for SCCM 3.0.
See ya next time.
Earlier blogs in this series:
- Parallels Mac Management for SCCM review (part 1)
- Parallels Mac Management for SCCM review (part 2)
- Parallels Mac Management for SCCM review (part 3)
- Parallels Mac Management for SCCM review (part 4)


I have been trying to create a base OSX netboot image and netboot set is well over 20GB. SCCM seems to have an issue with such a large netboot set. Is there an additional step to shrink the size of the image?
Hi Evan, the netboot image is over 20GB? Did you see this website?
https://jamfnation.jamfsoftware.com/discussion.html?id=8832
Peter,
Thanks for the response. I did look through that documentation and took the steps to reduce the image size however it is still relatively large. I have determined that that “image conversion” process has a limitation based on the max .wim size within SCCM, however the netboot process really is not reliant upon the .wim created. After numerous efforts, i am able to get netbooting to work albeit through a painstaking process. I initially used DeployStudio to create a pseudo (2GB) netboot set. I also created a true netboot set via system image utility. After importing the pseudo netboot set into SCCM and copying it to my DP, I went back into the pmmimages directory and the pmmboot directory within RemoteInstall and copied my true netboot set. From there I was able to get my custom image to work. Not ideal to say the least. I am working with Parallels regarding my scenario in hopes to smooth out this process.
Regards,
Evan