 Yesterday I wrote about building a custom Windows 8 image to use with Configuration Manager 2012, even though it is not yet supported in this RC2 version. Today I will have a look if we are able to deploy the image correctly.
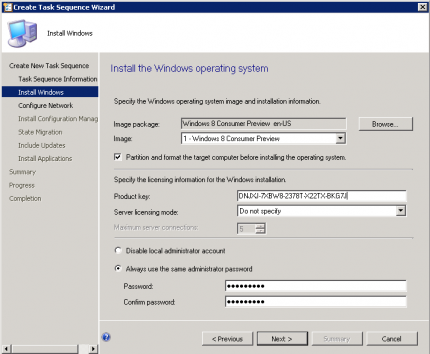
Create an “Install an existing image package” Task Sequence and be sure to supply the Product Key that can be found on the download page of the Windows Consumer Preview edition.
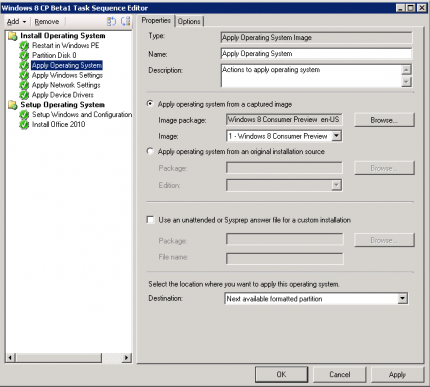
The created task sequence is like shown below, as extra the Task Sequence will also install Microsoft Office 2010 😉
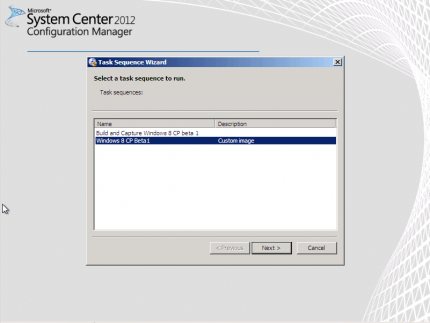
Next boot into PXE and select the Task Sequence you want to start, I will use the Windows 8 CP Beta 1 custom image..
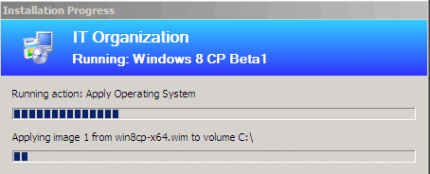
The task sequence will start and apply the WIM image on the hard disk of the machine. After applying the WIM image on the hard disk, Windows 8 will walk through the sysprep procedure.
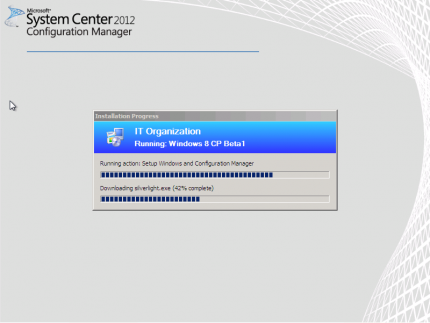
The Configuration Manager 2012 Client will be reinitialized and configured for the Configuration Manager 2012 Primary Site.
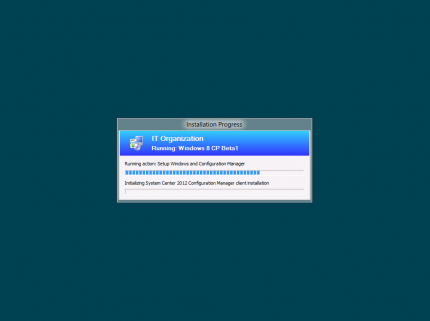
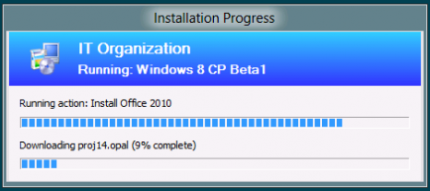
The next and final step of this Windows 8 Consumer Edition deployment task sequence is the installation of Microsoft Office 2010.

After the installation of Microsoft Office 2010 is finished our first custom Windows 8 Consumer Preview image with Office 2010 is deployed. Let’s see how logging on looks like.

Press Ctrl+Alt+Del or slide the screen up to logon.
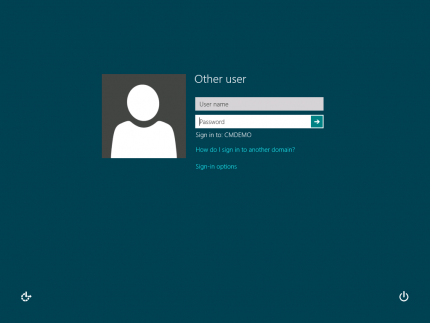
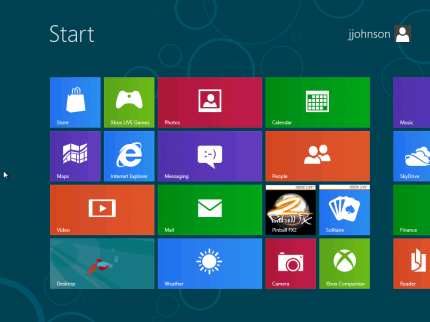
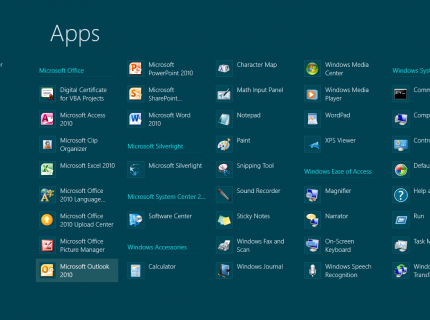
The installation is domain joined, logging on with jjohnson will result in the following with Office 2010 present.
In the next blog I will look at the Configuration Manager 2012 client and the ability to manage the client.
See ya later!


