

 Windows To Go, a feature of the Enterprise version of Windows 8 that allows you to boot and run Windows 8 from a USB stick, how cool is that? Having your corporate Windows 8 image on your USB stick and which allows you to connect to your corporate infrastructure by just booting from the USB stick. Which allows you to work from home with your Corporate image without the need of bringing a laptop with you. To be able to use Windows To Go you need a special USB device that is certified for Windows To Go. When you have such a special device you are able to provision it with Configuration Manager 2012 SP1 or R2.
At TechEd Australia I ran into the guys from Imation which have the Ironkey Workspace USB product line. For test purpose I got a Ironkey Workspace W500 device. The Ironkey Workspace W500 is certified for Windows To Go, so a nice device to test the provisioning process with Configuration Manager 2012 R2 🙂 Yesterday PCMag.com awarded the Ironkey W500 editors choice so let’s see how it all works for us.
Provisioning the Ironkey device with my corporate Windows 8 Enterprise image is normally done in 6 steps, in this blog and the next couple of blogs you will have a look at the process and see how the experience will be.
- Prepare the Ironkey device
- Create a special task sequence for deploying your captured Windows 8.1 image
- Create a prestage media for the task sequence
- Create a Windows To Go creator package
- Update the task sequence to enable BitLocker
- Deploy the Windows To Go creator package and Windows 8.1 task sequence.
To be able to provision the Ironkey we need to initialize and prepare the device to be used with Configuration Manager and of course Windows To Go. In this blog series I will use the Ironkey Workspace W500 for reference, the experience of any other Windows To Go certified device can be different, so be aware of that.
1. Prepare the Ironkey device
After placing the Ironkey into the USB port, we will notice that we need to need to read and agree to the Imation End-User License Agreement. Of course everybody will read this twice before selecting the checkbox 😉
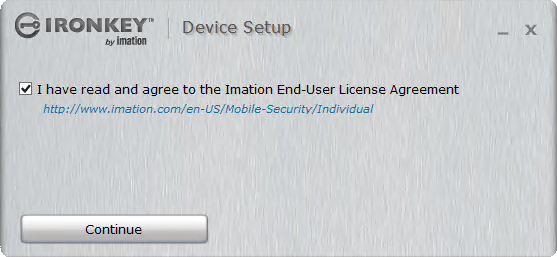
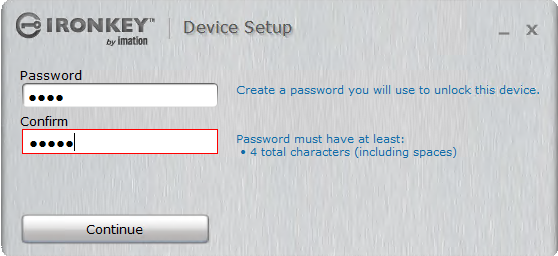
Next we need to click Continue and provide a password that we will need to use to unlock the device to manage it or to boot into Windows To Go. This device is a secure device, without the password we are not able to access the data partition on which Windows 8 will be installed.
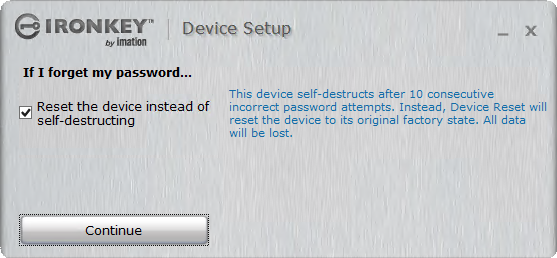
Since it is a secure device, we are also able to reset or self-destruct the device after 10 consecutive wrong passwords are supplied. By selecting to only reset the device, we are able to reuse the device and all data will be lost, always nice 🙂
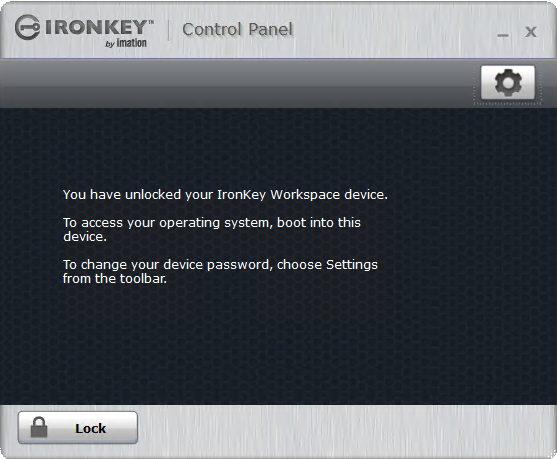
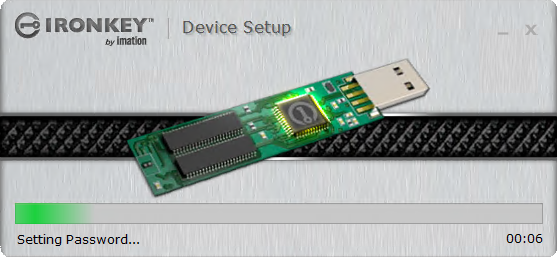
The next step is that the device is being initialized, the password will be set and after a couple of minutes the device is ready to be used.
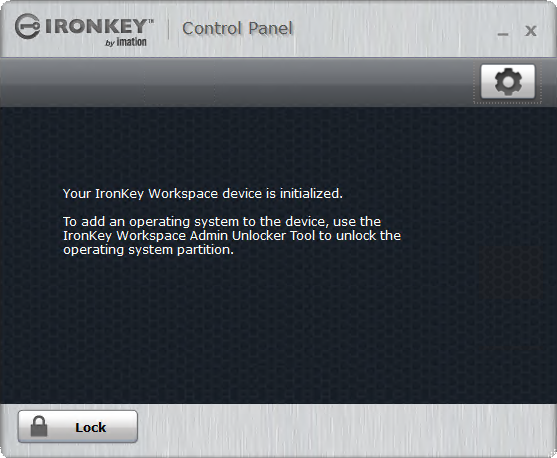
Next we need to test if we can access the hidden partition on the device. To be able to access the hidden partition from a Windows operating system you need to use the AdminUnlocker tool that can be downloaded from the Imation support website.
After starting the we need to first select Options to ensure that we will unlock the device in a 2-lun mode, the next step is that we need to supply the password we have configured to unlock the device.
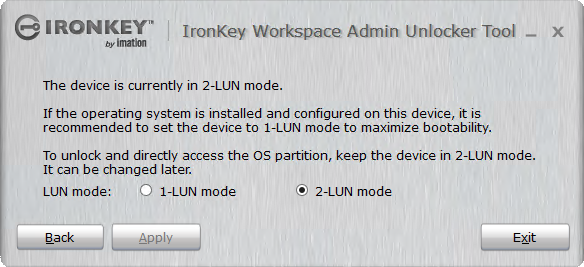
Next we can optionally configure a password to protect the operating system partition, this way we will add an extra security layer.
Now that we initialized the Ironkey device we are ready to proceed with the rest of the steps. Since you want to deploy your corporate image to the USB device for Windows To Go you do not need a new task sequence for it. What we do want to do is to ensure that there are no steps in the sequence that may be incompatible with the Ironkey device. Think of steps that create more than one partition for data storage or such. In the next blog we will have a look at the steps 3, 4 and 5 of the Windows To Go provisioning process.
Till next time!